
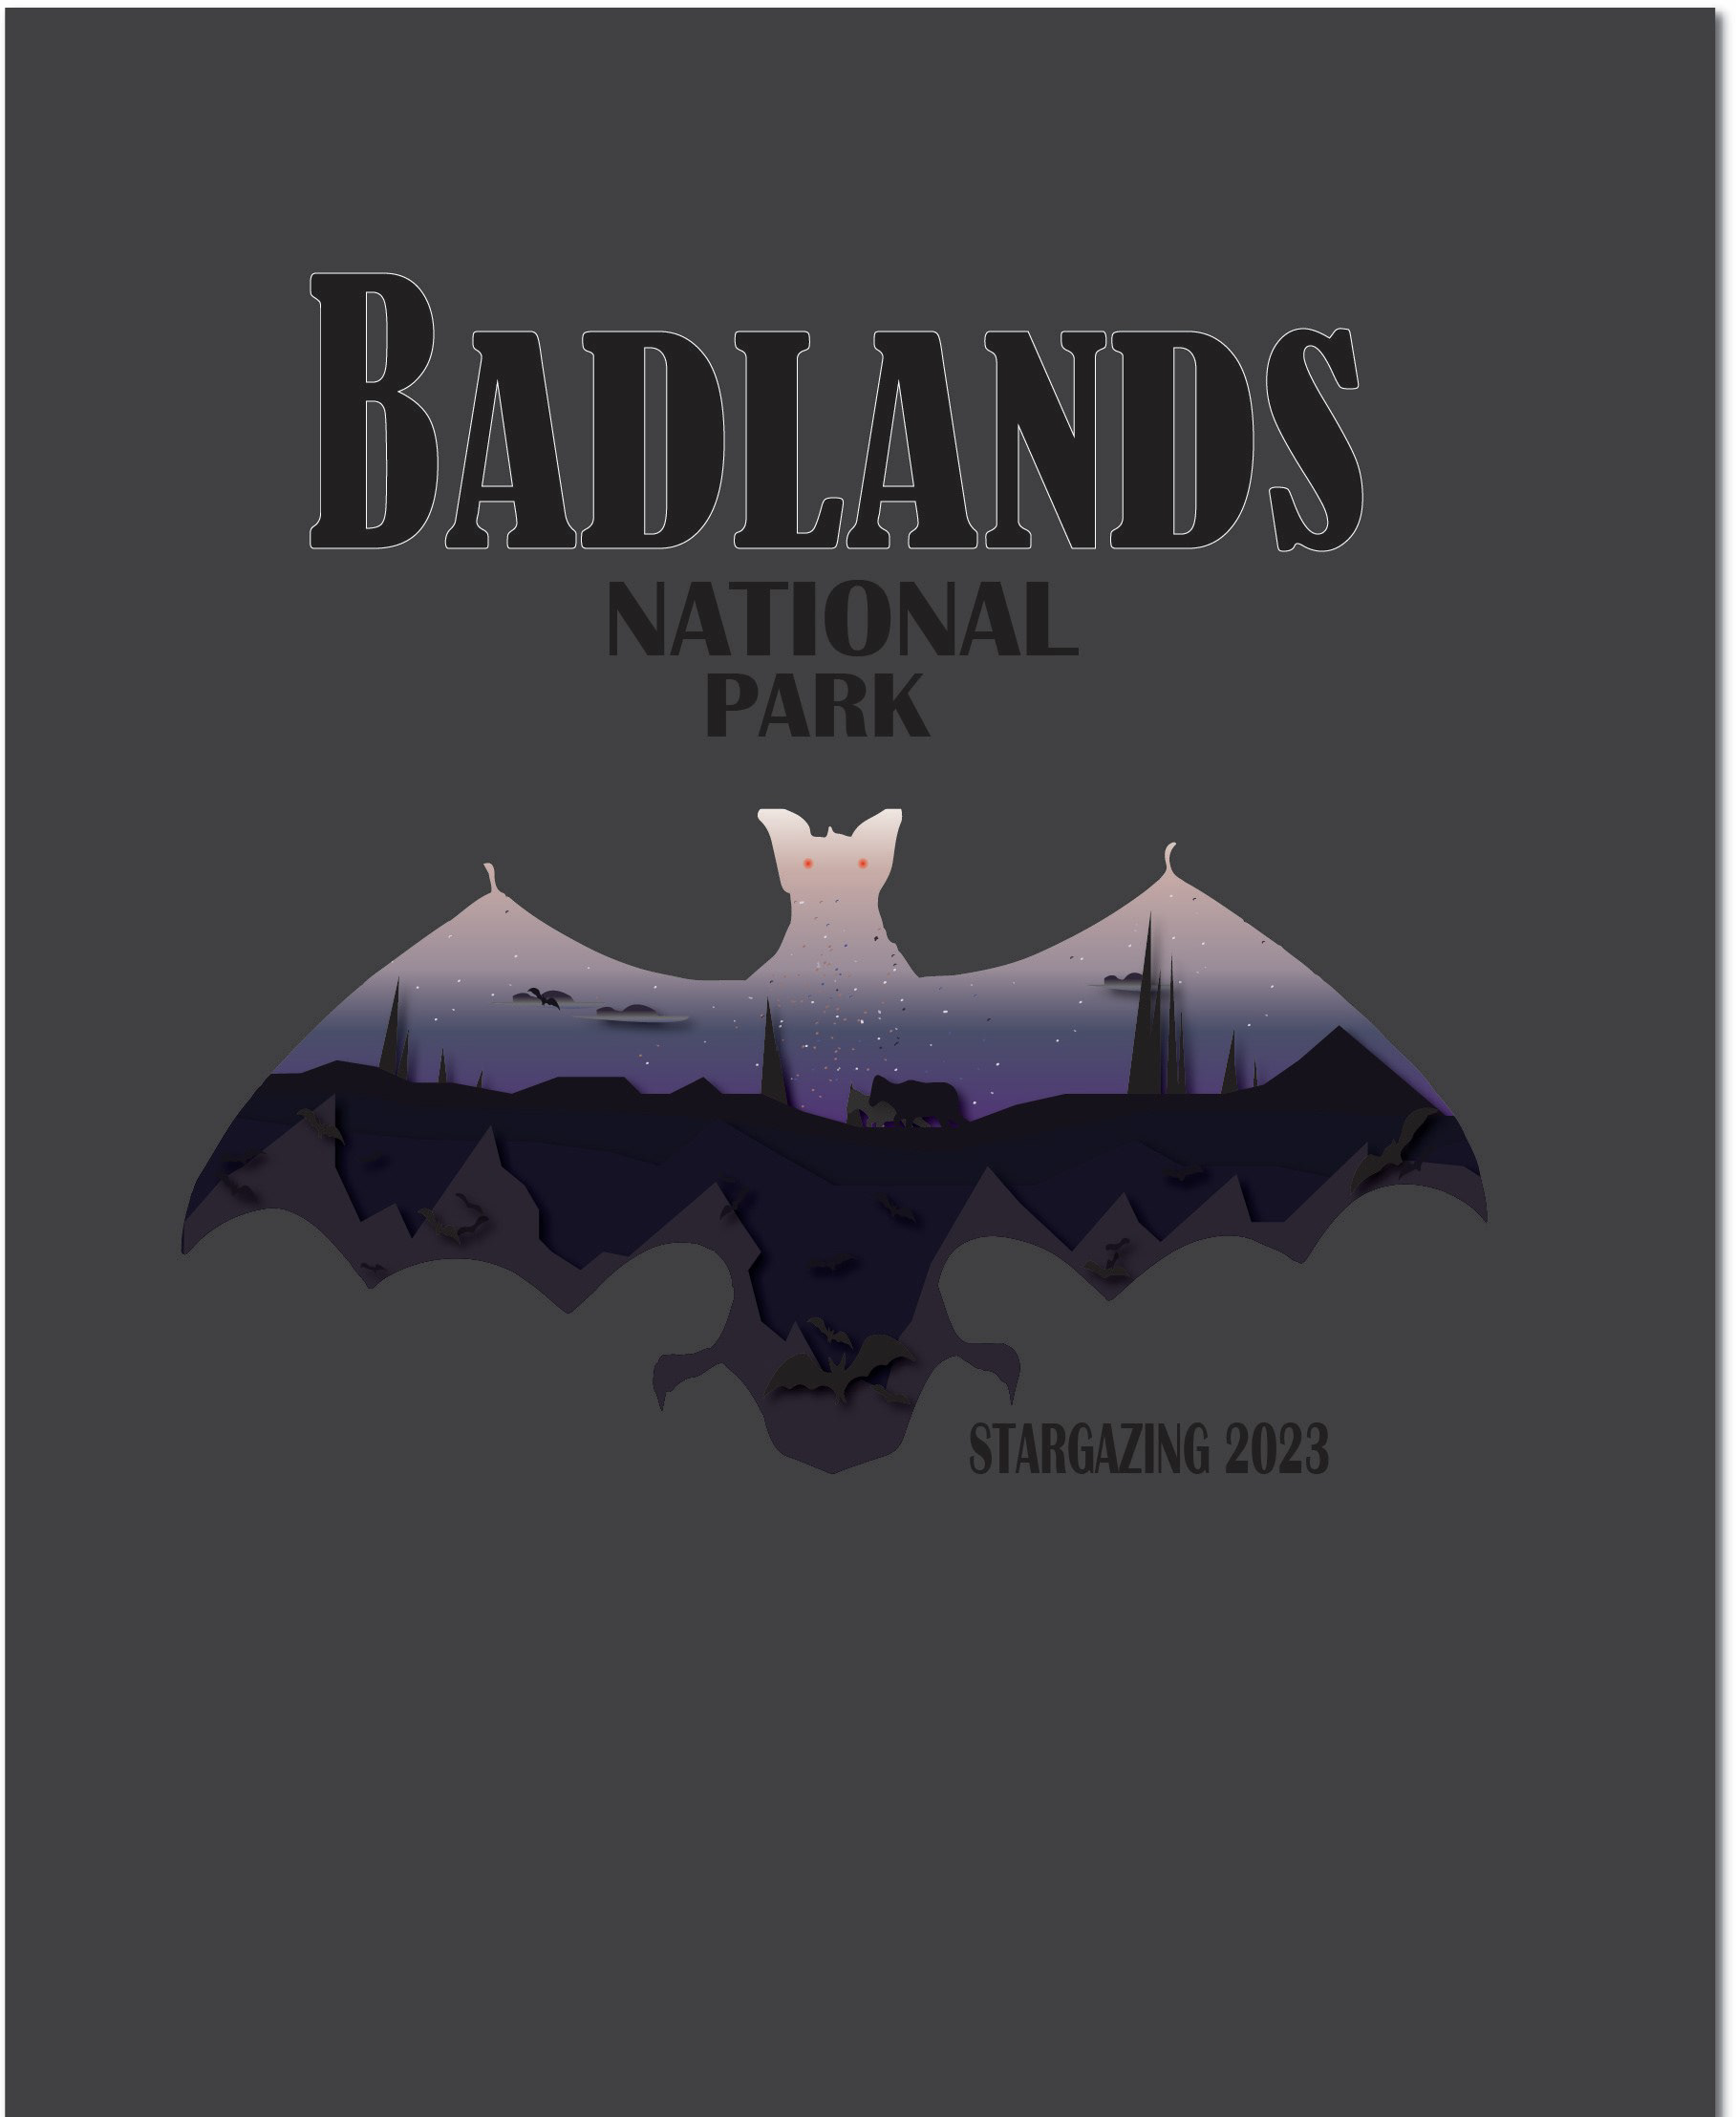


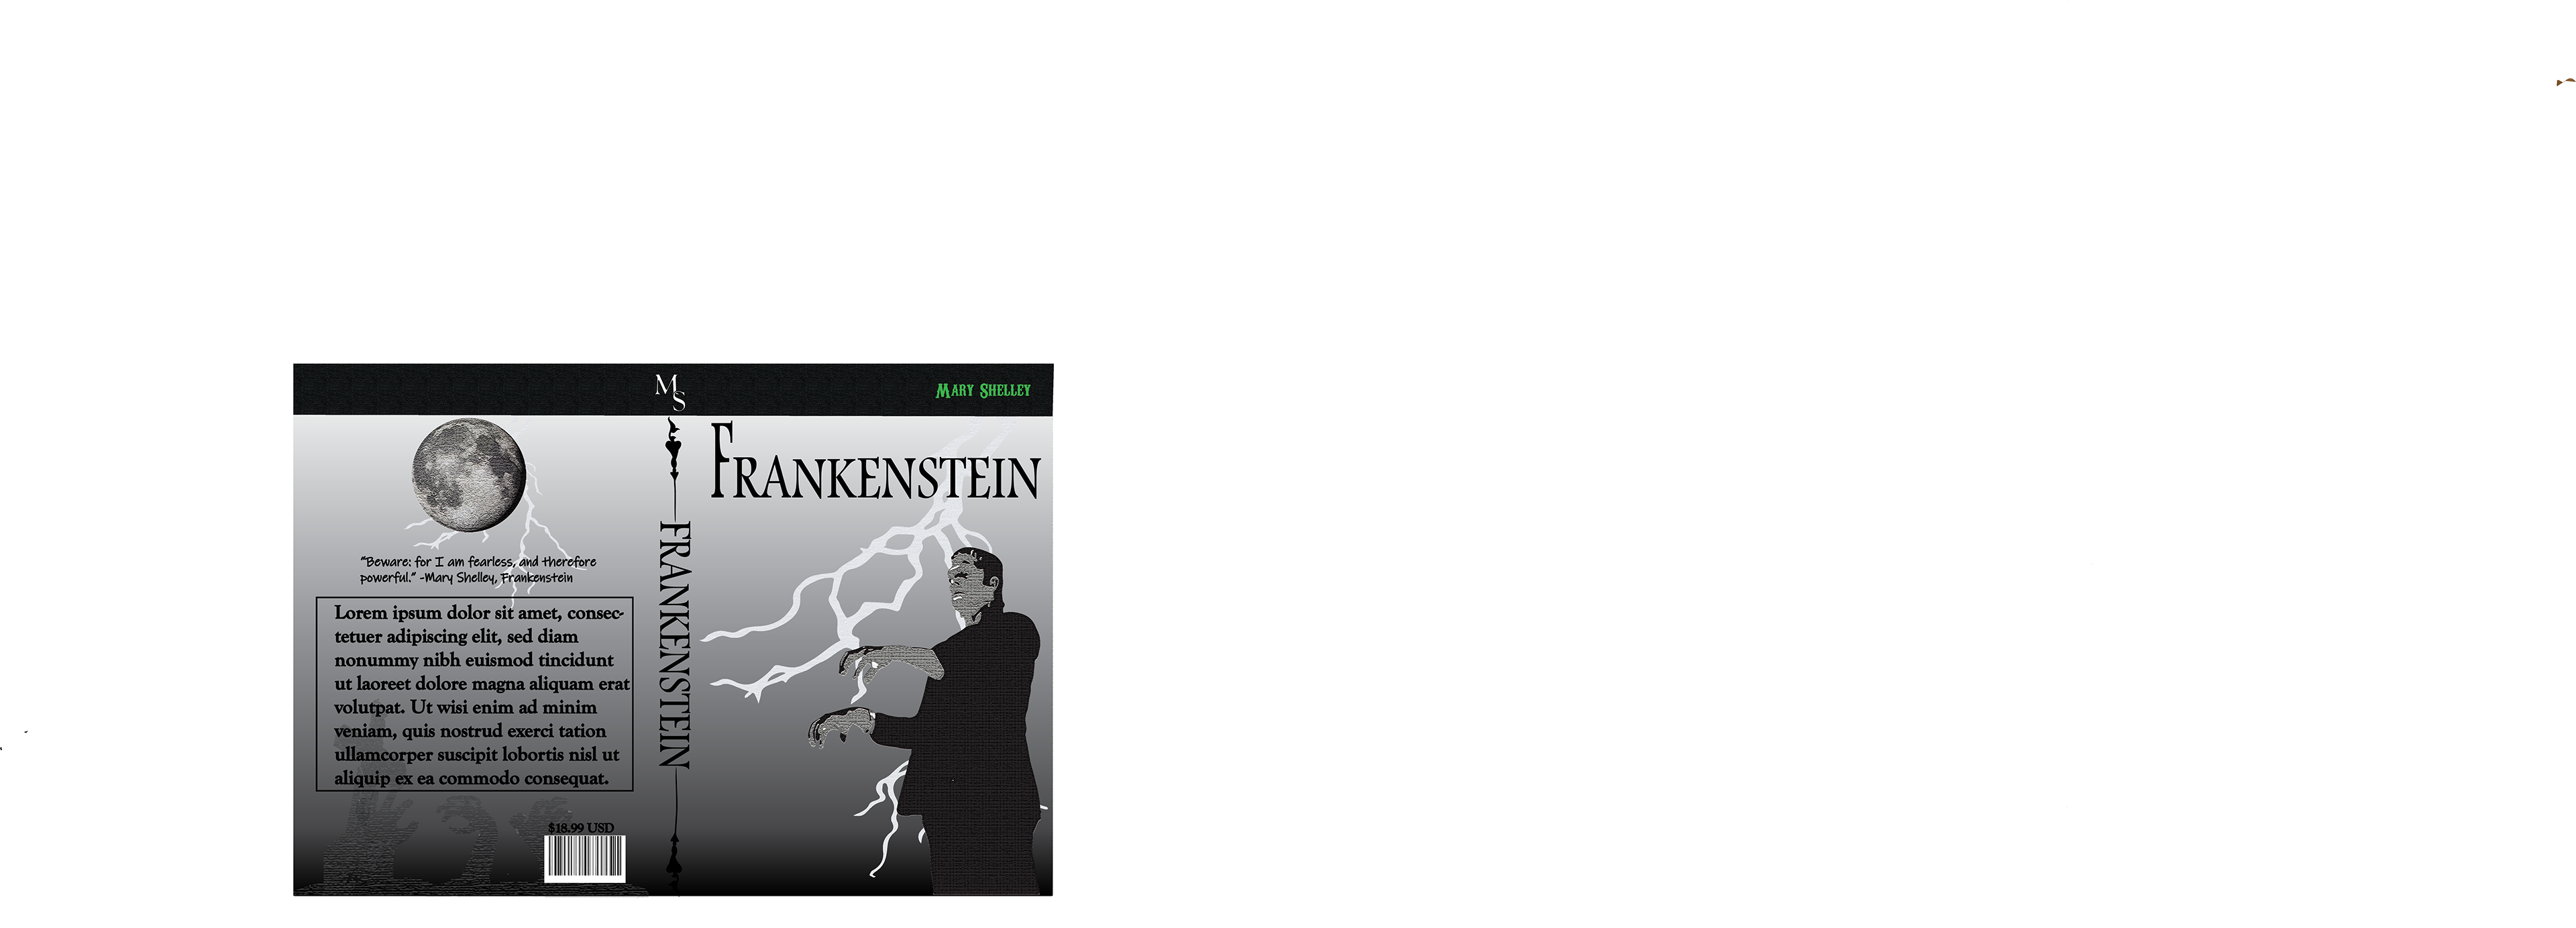
Book cover illustration concept - process post
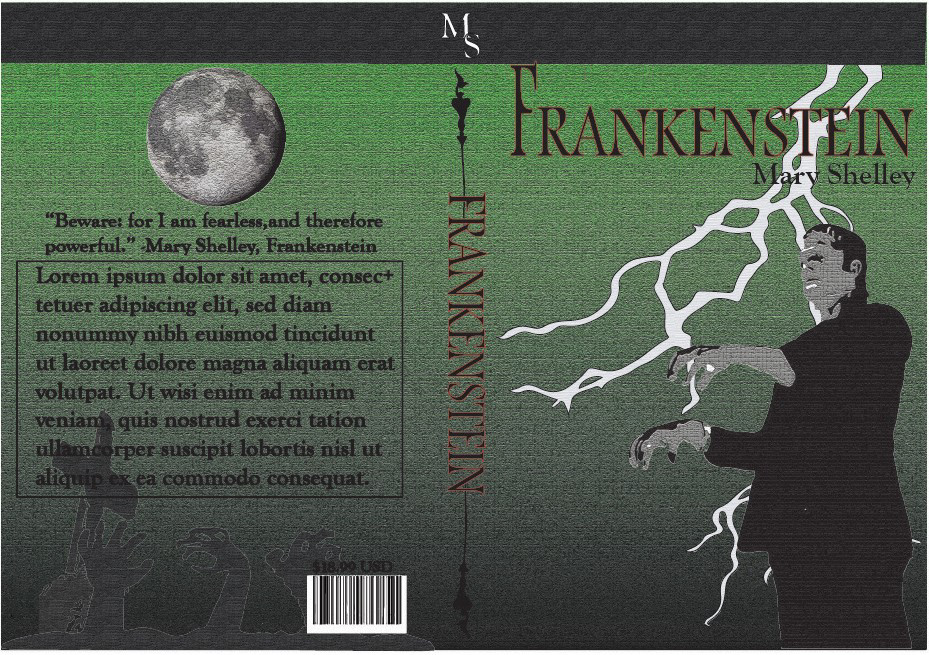
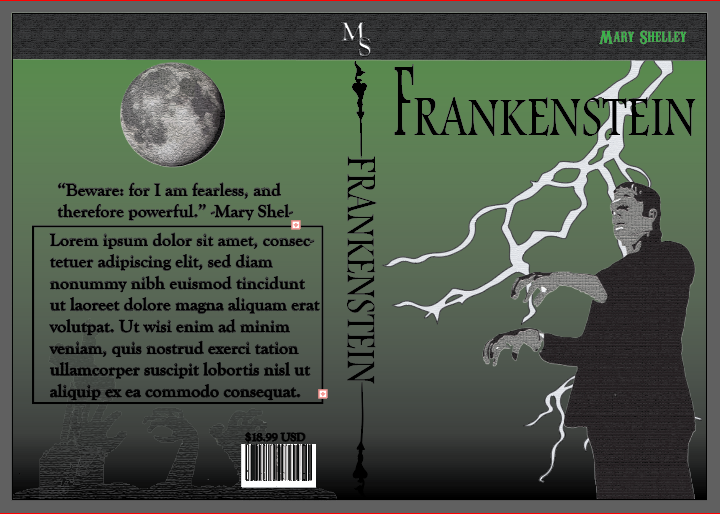
Original design
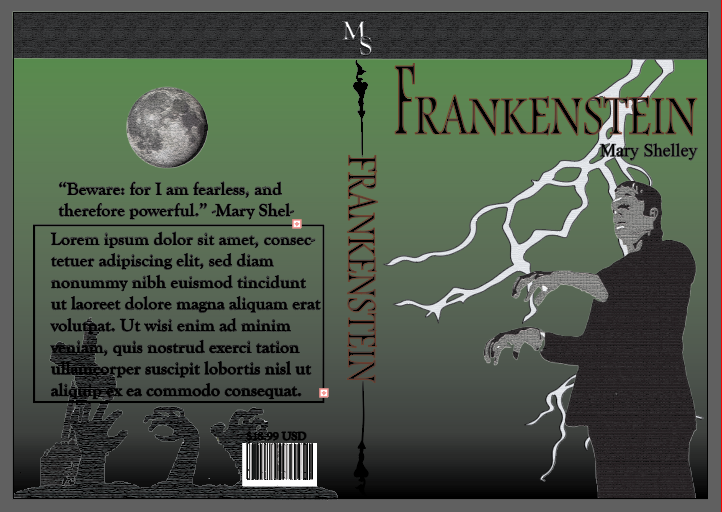
For this re-submission for my Book cover i wanted to clean up my design a bit. So, I started by first getting rid of my effect on the backdrop of my design so that it will look much smoother for my lightning bolts. I then took all the strokes off my text after learning it was not a useful design practice. I took “Mark Shelley” from under the original title and added I to the black bar at the top to try and incorporate that element into the design more. I opacity out my graveyard elements on the back cover to make those more subtle. I then rearranged the back items so that they are all aligned better, changing the font for my pull quote, and adding a new element of lighting to the back of the cover to incorporate that element more.
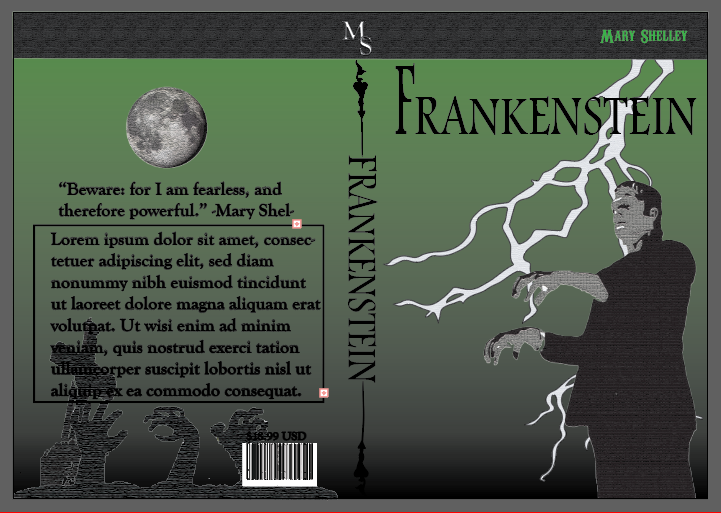
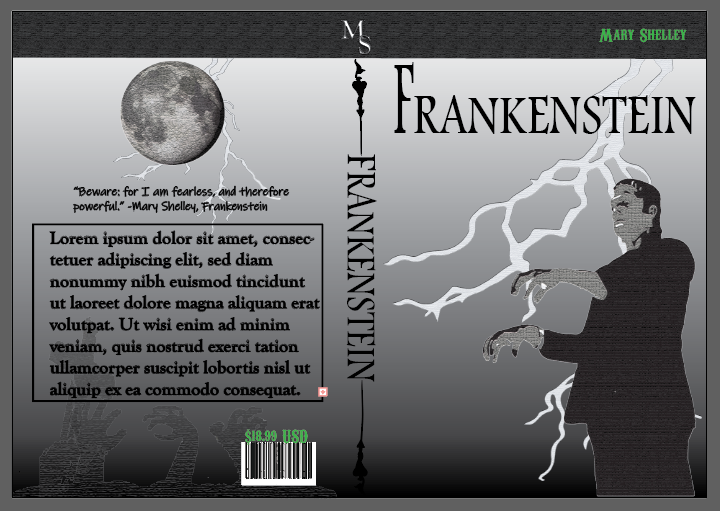
Final Design
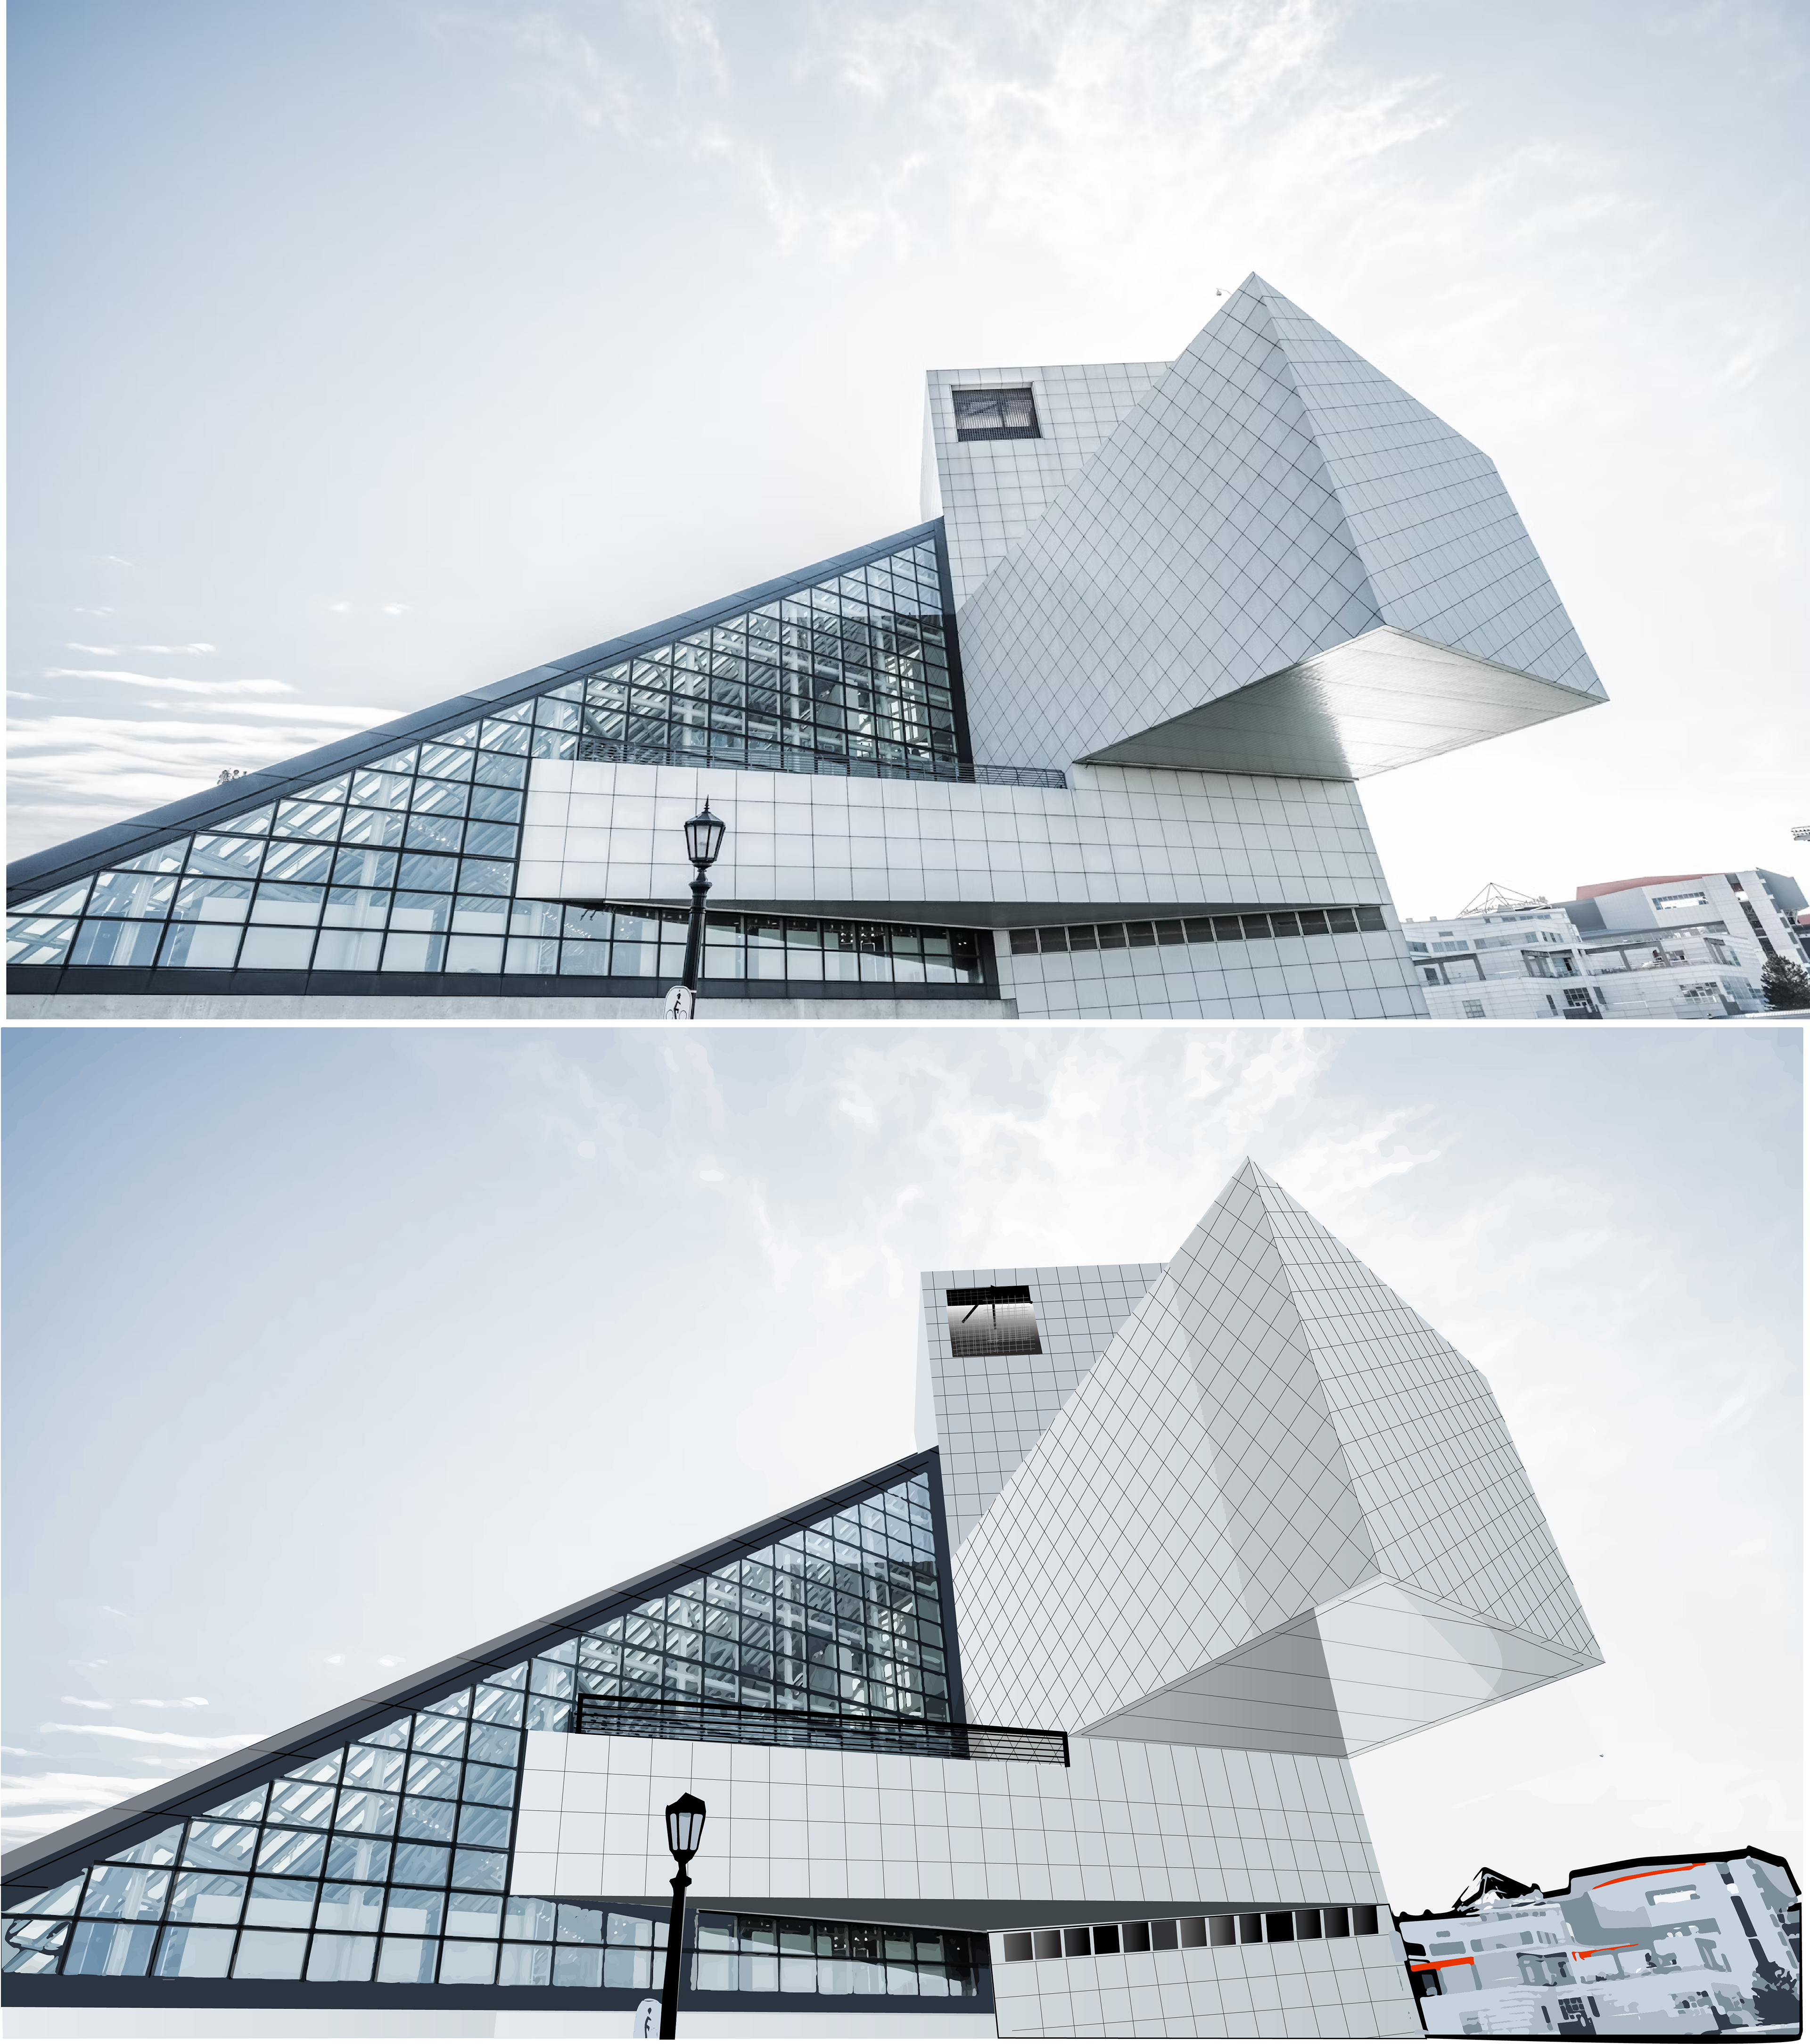
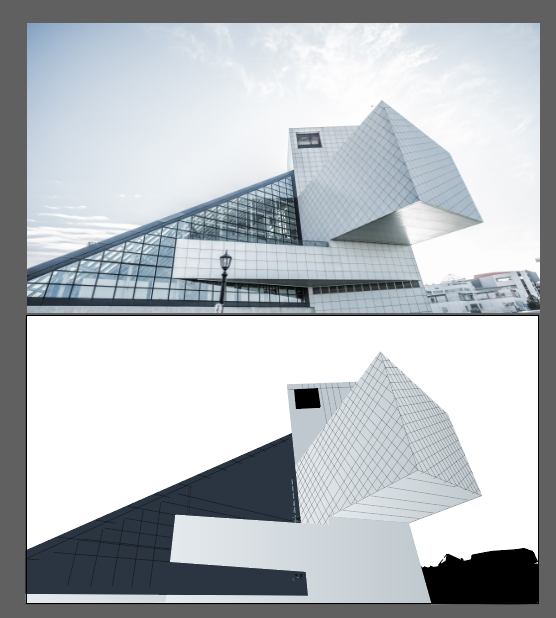
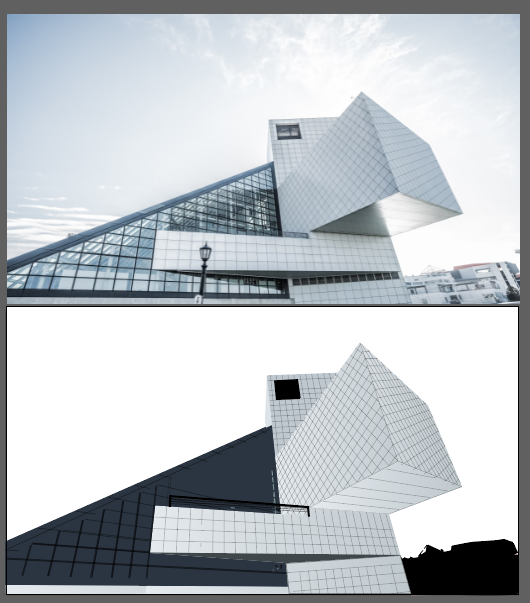
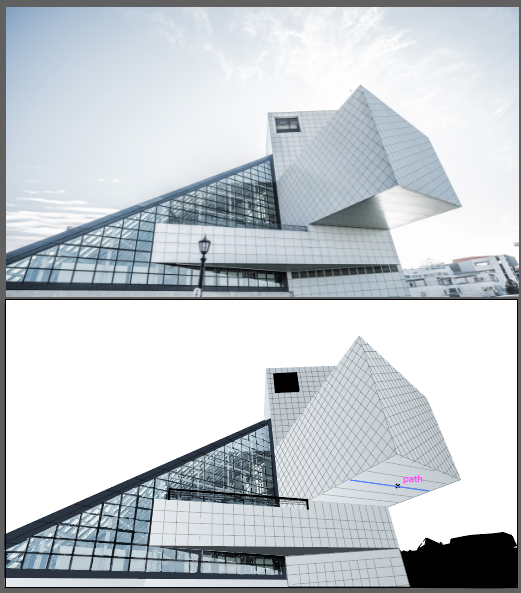
architectural illustration - process post
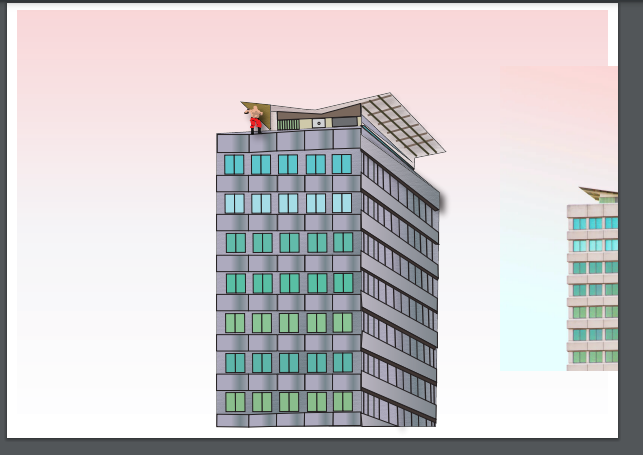
Original Design
For my architectural illustration project, I knew my last project wasn't going to cut it.. i need more color corrections and to align my elements more. After originally researching gothic cathedrals i settled upon my architecture. I started out with laying down my base shapes which were a couple of rectangles and some triangles to get the overall structure of the building down using the pen tool. I then use the shape builder tool to fill any gaps in my building. I then started adding in the cross hatches on the building since those were the biggest details to me. With the base out of the way now, I can focus on the building's details such as the reflections and inside details and the color and gradients.
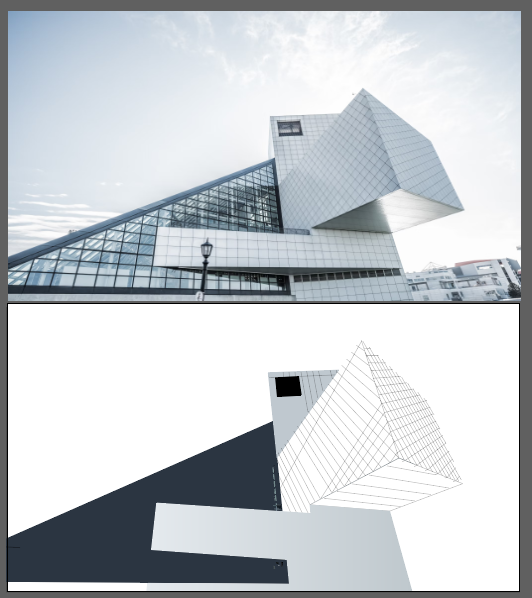
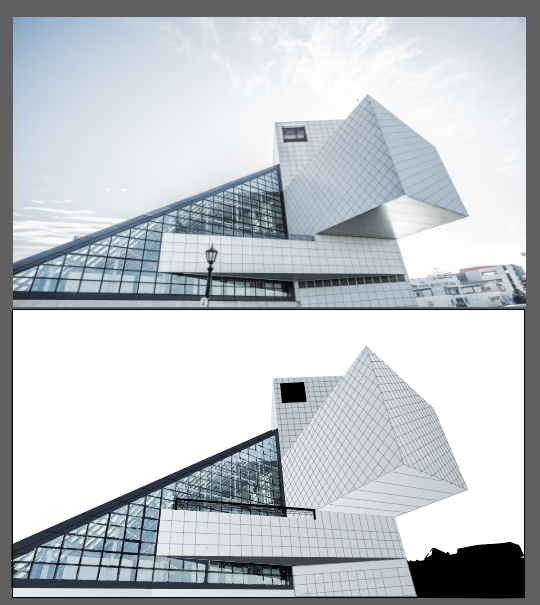
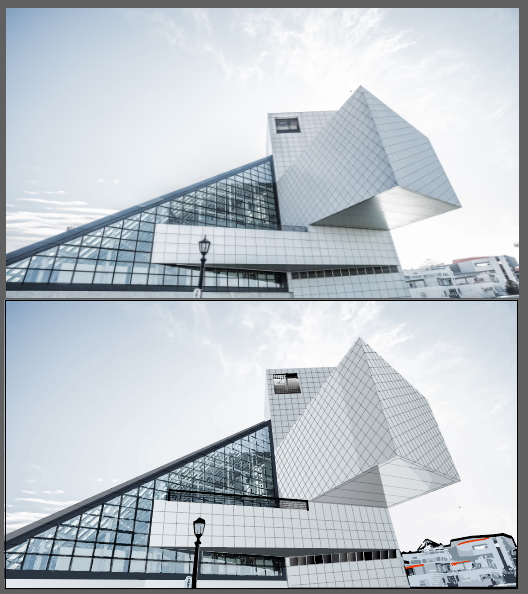
Final Design
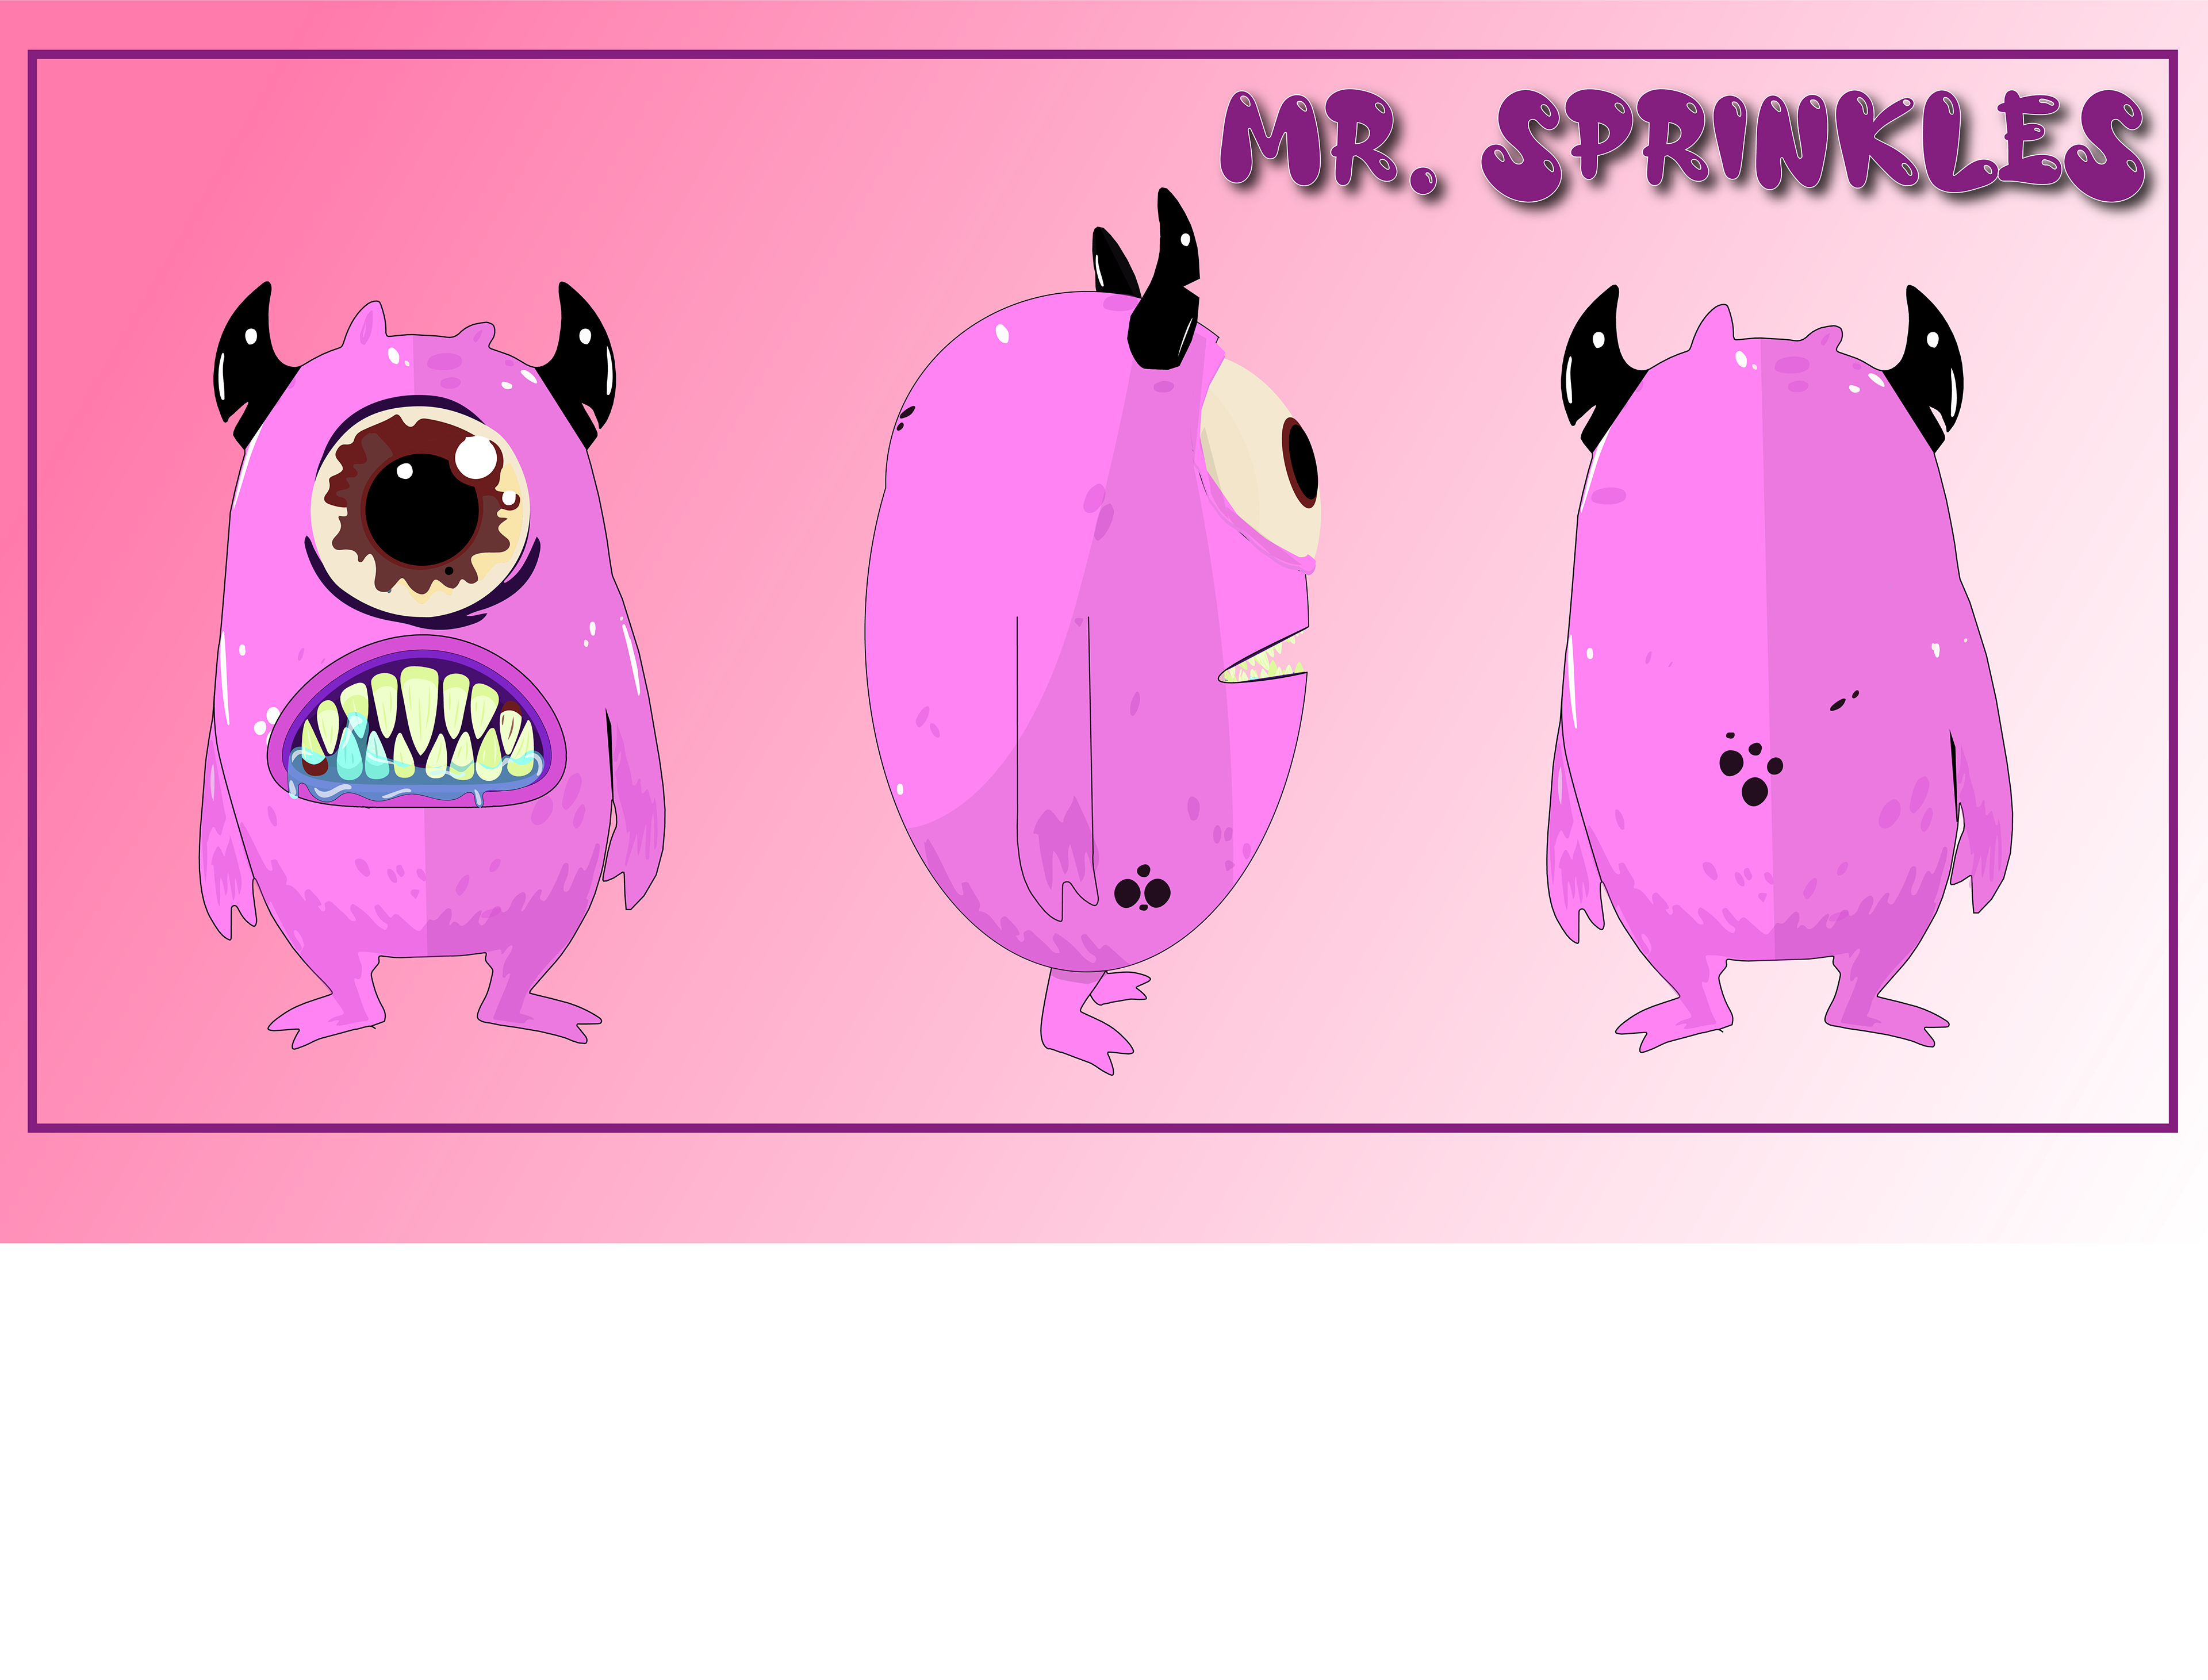
Character design - process post
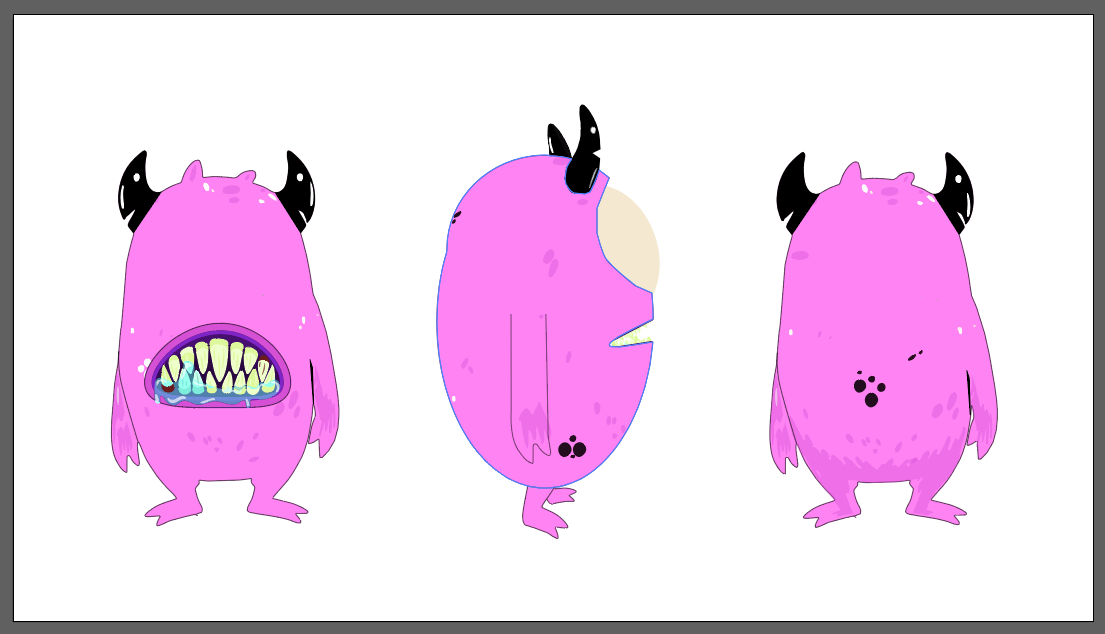
Original Design
For my character design project, I wanted to try something new. I first started with creating the base shape for my monster which is like a rounded rectangle. Once his base shape was done, I then started adding in the horns with pen tool. I then added his mouth and eyes. Once his man body parts were there, I just started adding some color and details to my monster such as spots. For the next angle I shape builder a circle and rectangle together to get my side profile, shape building the eyeball in, I am going to also do that for the mouth. I then added my last angle of my monster the backside and plan to add more detail to my monster on the last project day.
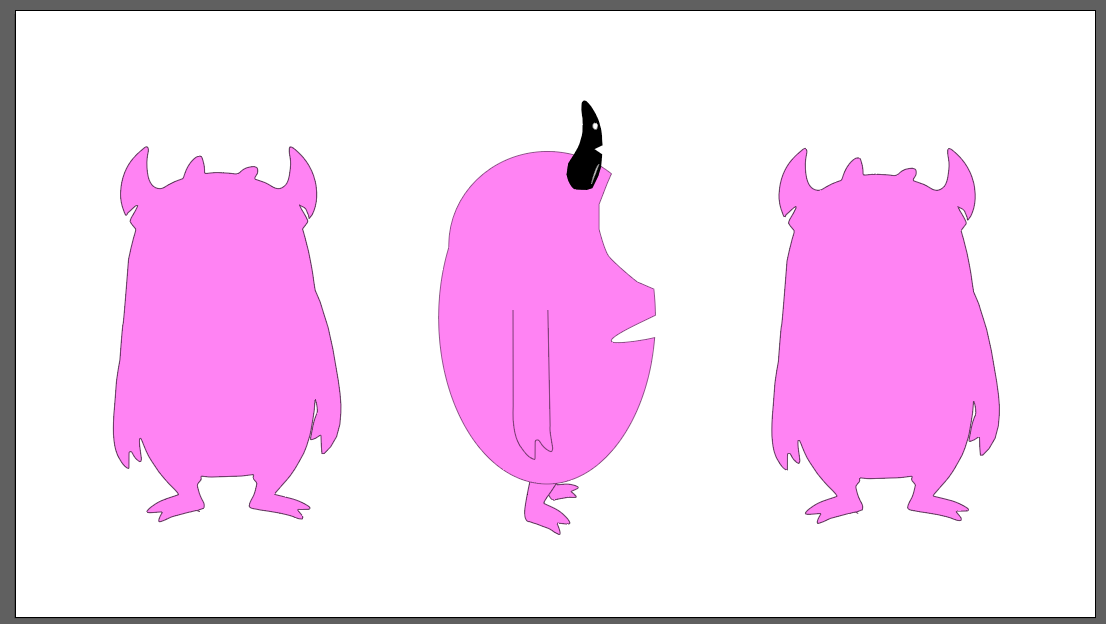
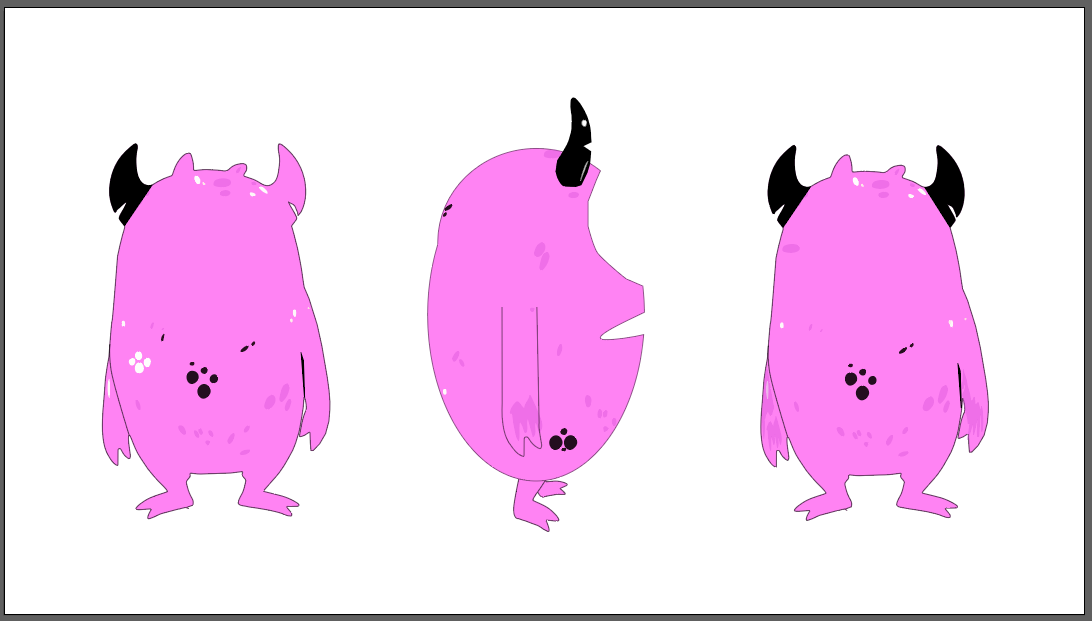
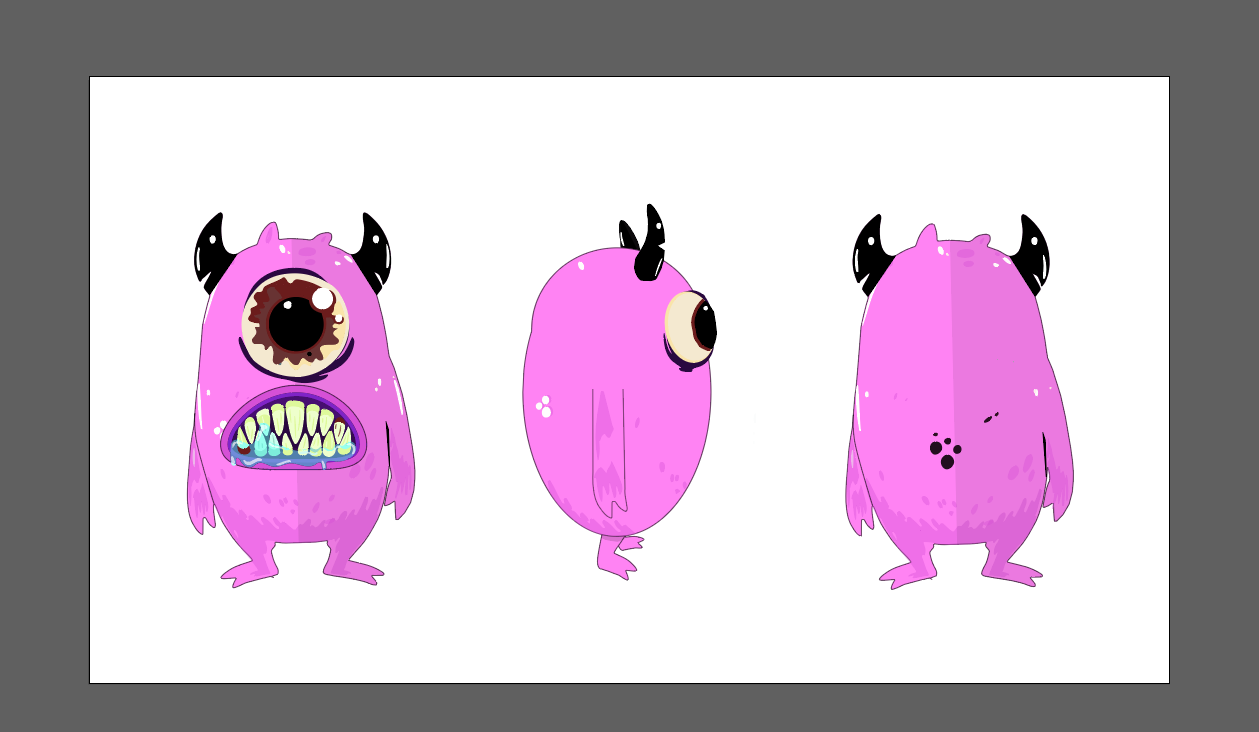
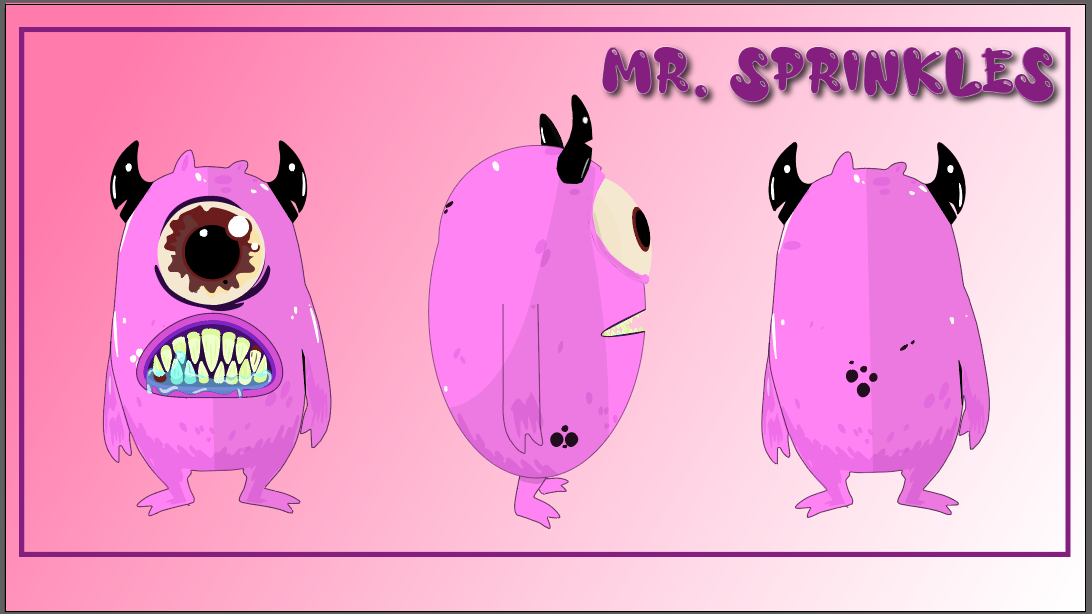
Final Design
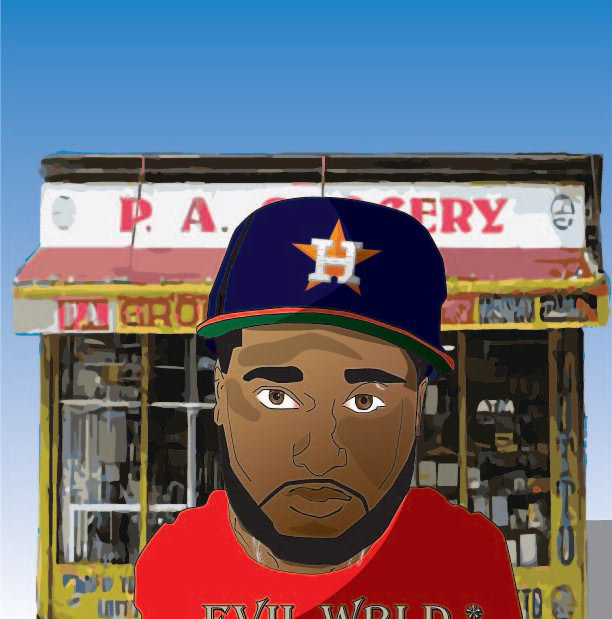
Creative Portrait Project - Process Post
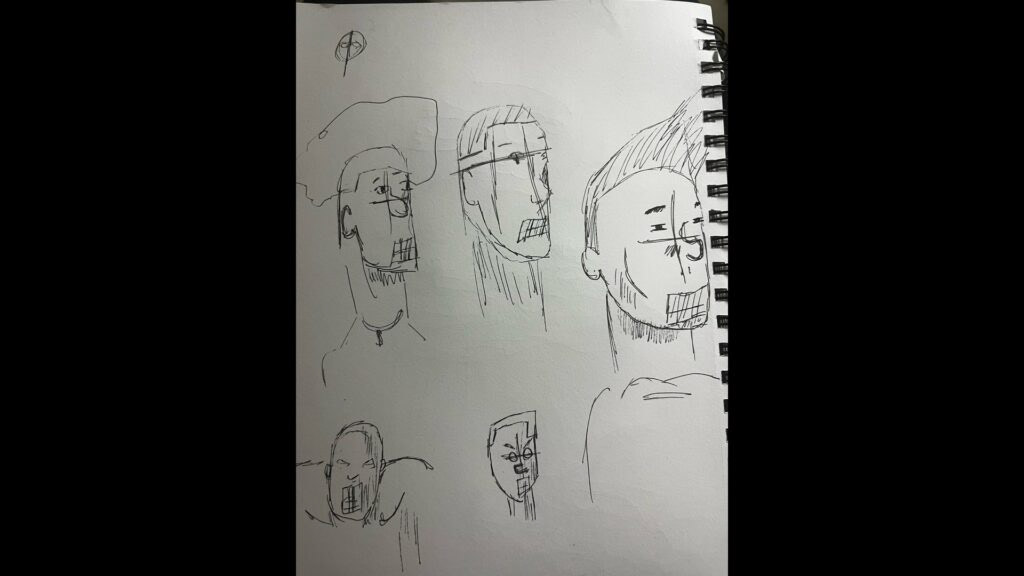
For this project i was asked to create my own vector portrait! Focusing on the camera placement, what the portrait is conveying, the value, the colors, and lighting. With quick sketches i decided that my model would be a guy but i wasn't sure which camera angle to attack.
Base Sketches..
I was not impressed with how my sketches of the side profiles came out so i opted for the full face portrait. With my angle changed i went about drawing over my original sketch using the pen tool in Adobes Illustrator.
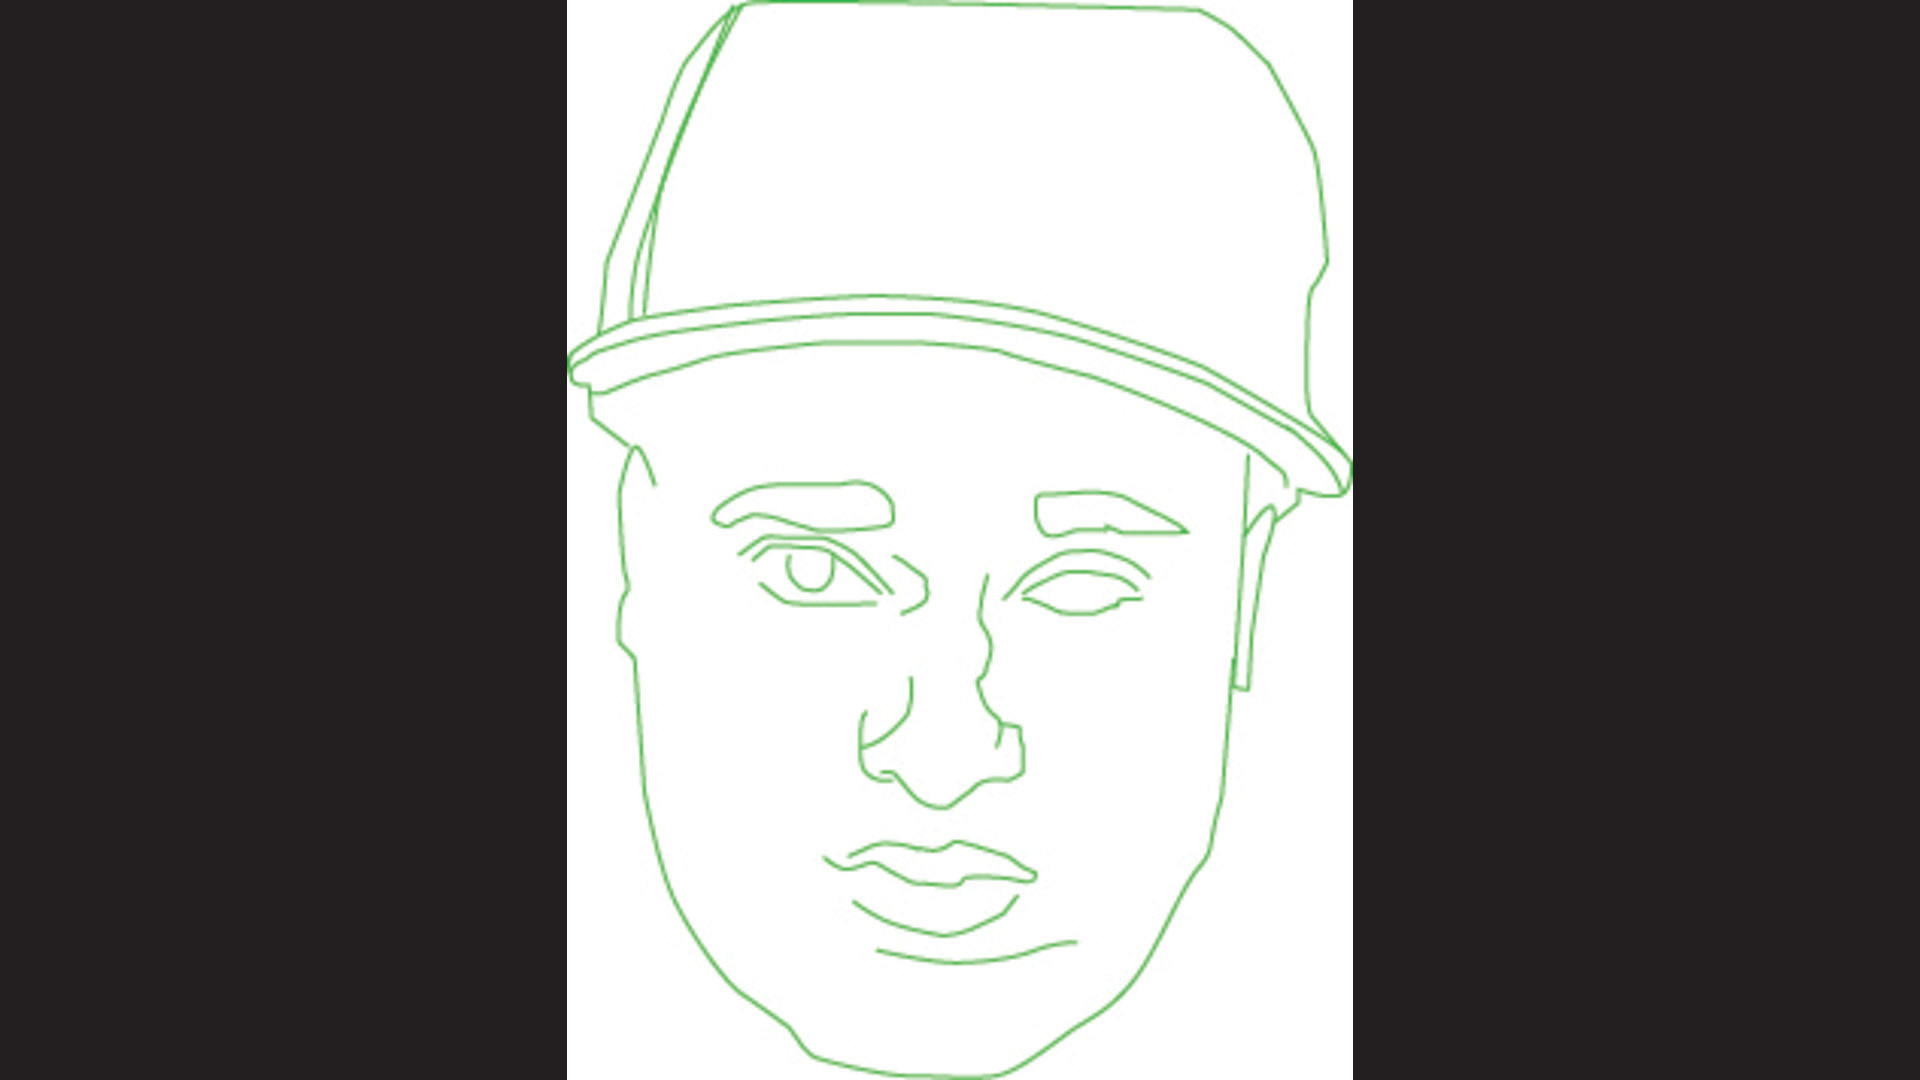
Beginning Sketch..
Finishing the rest of my line art i began adding in my color values to my sketch. After adding the color my model was still missing more. I then adding a neck and T-shirt to the bottom portion of the sketch, facial hair and to the top of the model i gave the hat a logo which i created all within AI.
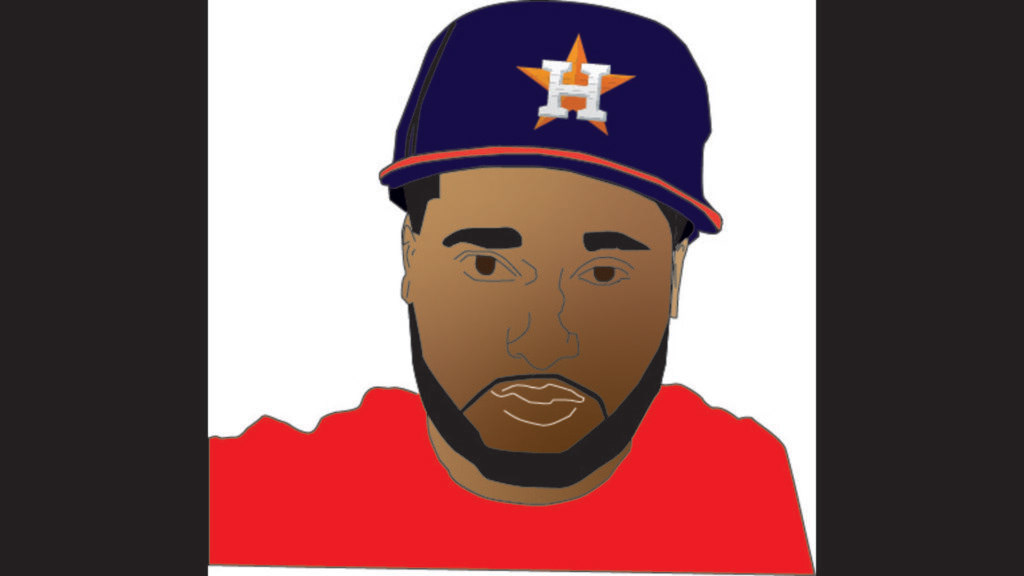
Creative portrait mock-up
Finalizing..

After receiving critiques i quickly went about finishing my models eyes and lips giving them color and definition, then adding shadows and realism to my portrait. Wrapping up my portrait i gave him a necklace, redesigned his T-shirt then finally gave him a backdrop to complete my creative portrait.